The fine art of registration
Shoot & Sketch
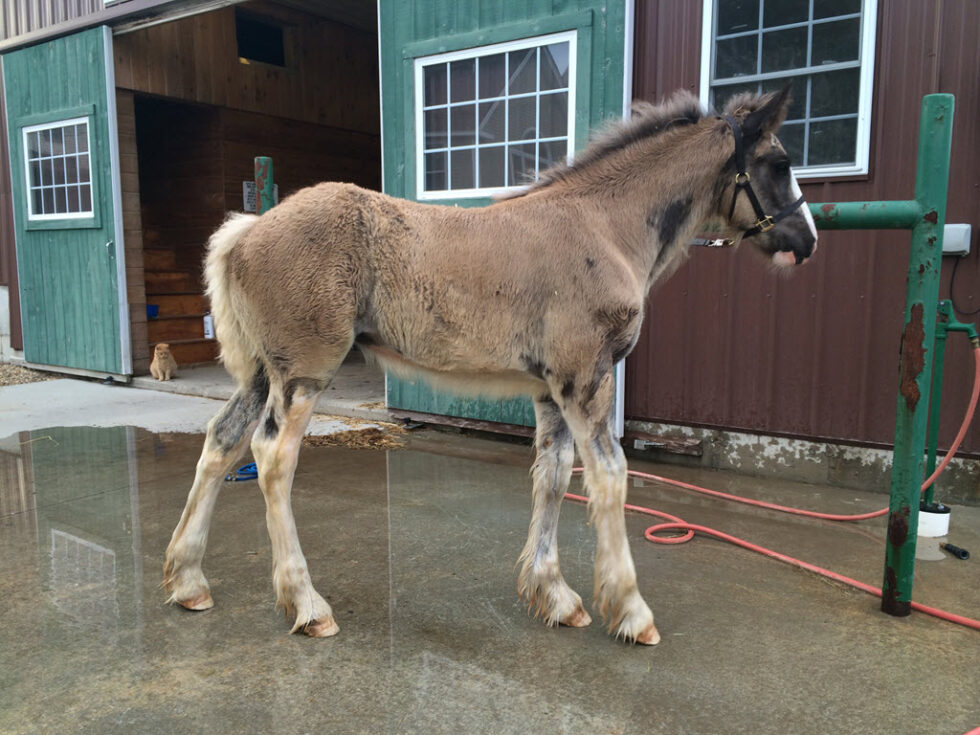
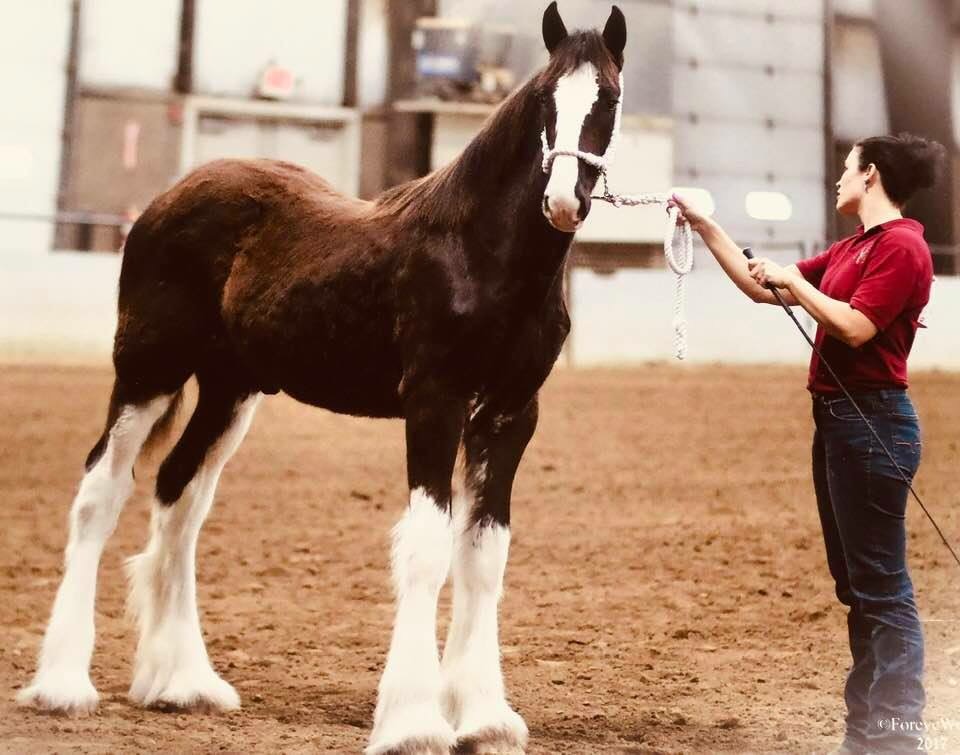
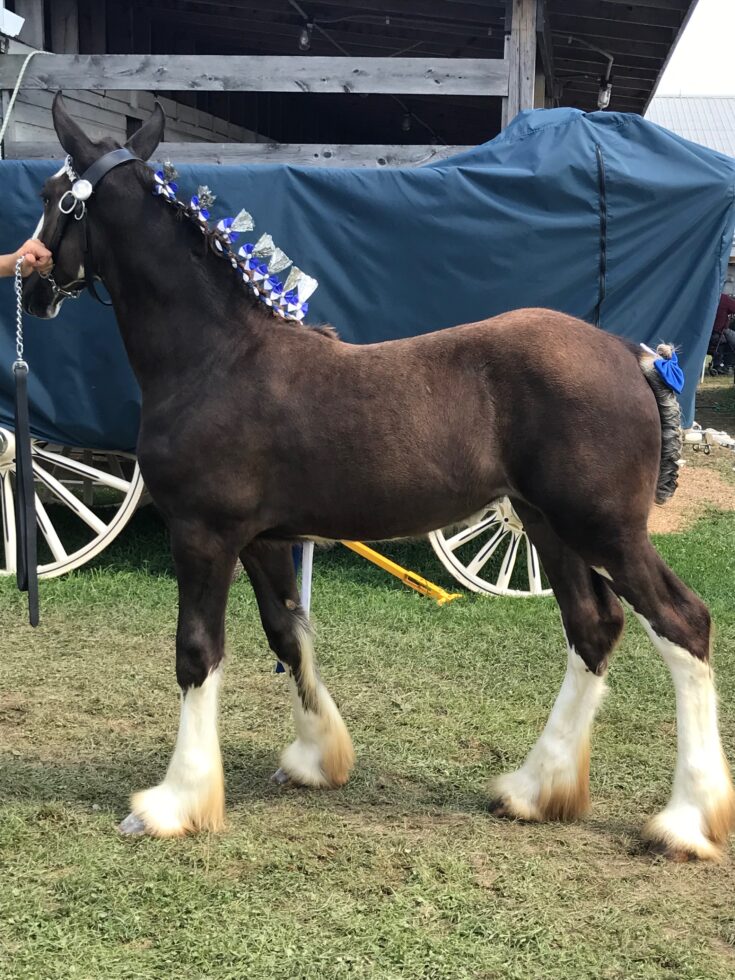
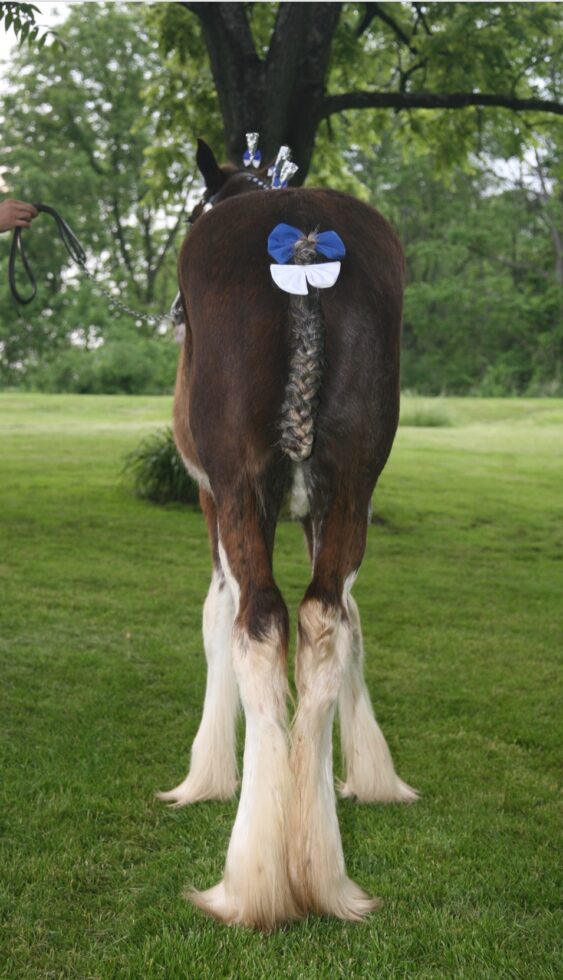
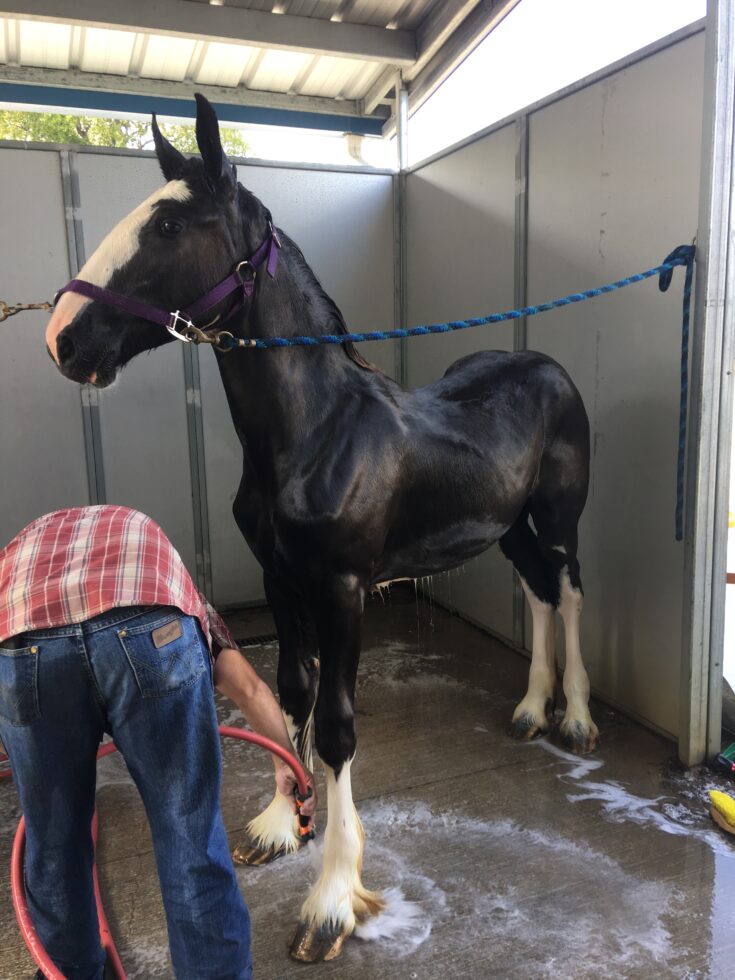
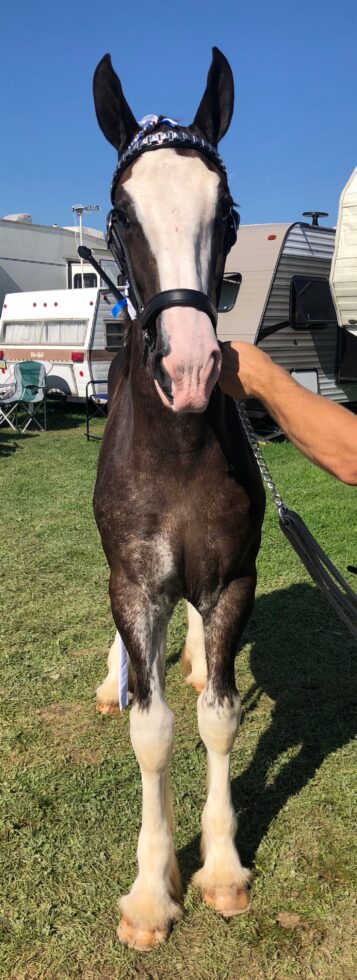
While the markings of this beautiful 3 year old mare are easily distinguishable, most horses are registered as a fuzzy yearling. The American Shire Horse Association makes every effort to properly register each Shire with distinguishing markings through drawings, written description and photos.
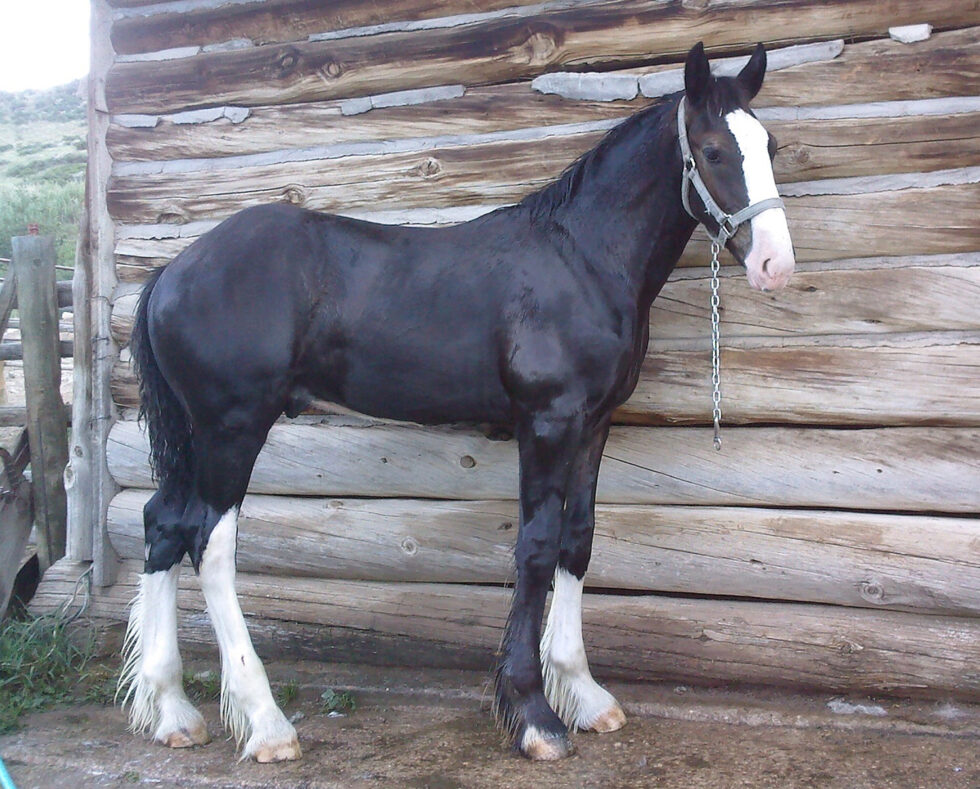
Shoot
How to Photograph
Photo 1 – Full frontal head & legs
Photo 2 – Full left side
Photo 3 – Full right side
Photo 4 – Full rear view
Other photos: under throat, barrel
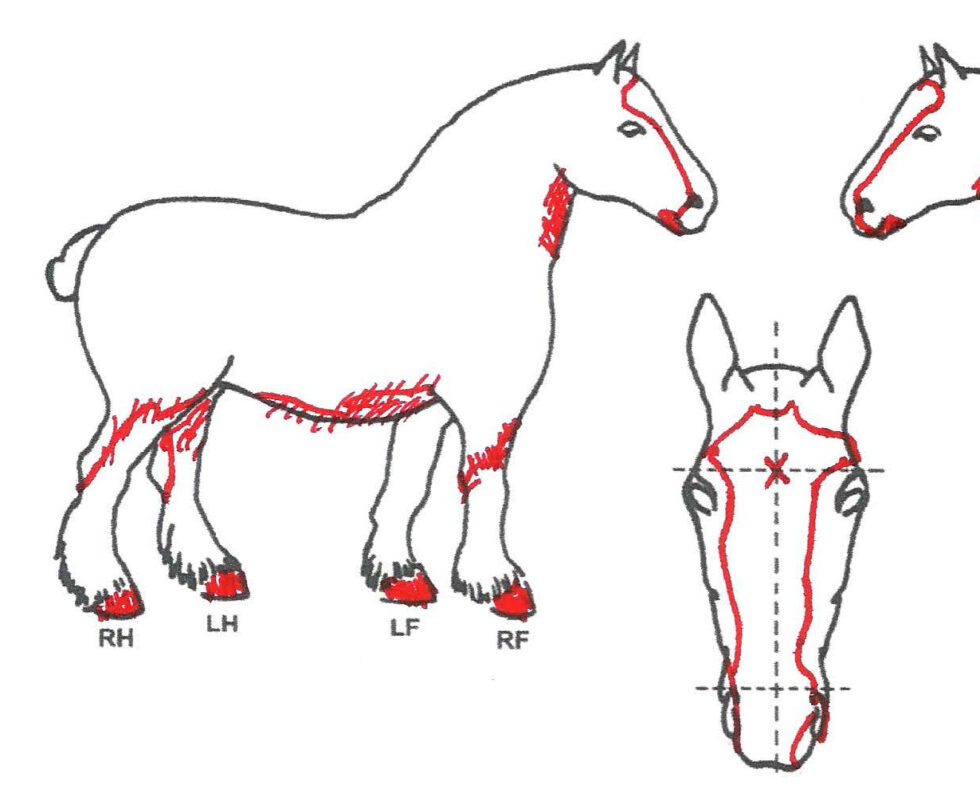
Sketch
How to draw
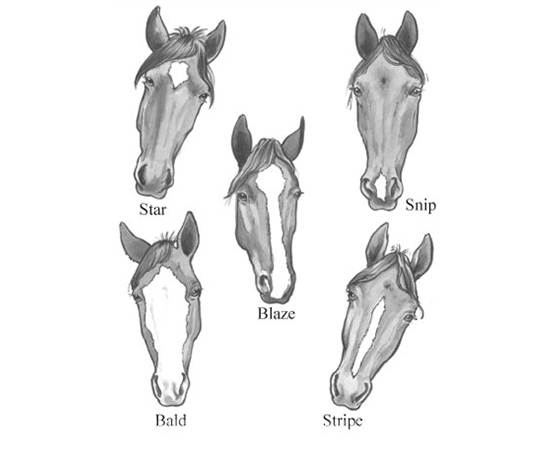
Everything not white on the horse is drawn in black ink. Whorls are indicated by a “x”, use an arrow to point to scars, brands are drawn in black ink, All white markings are drawn in red. Unpigmented areas are colored-in red (around muzzel, hooves, etc).
Describe
How to describe
Describe each part of the horse: Head, left foreleg, right foreleg, left hind leg, right hindleg, body markings, and distinct marks. The Fédération Equestre Internationale (FEI) Identification of Horses with the narrative and the diagram is a great resource for how to describe equine markings.
Example Photos
Tips for taking registration photos
- Wash the horse before taking photos, wet hair clearly show the delination of markings.
- Submit color photos, preferably by email, but mail in photos are acceptableable (photos will not be returned).
- Stand the horse on a hard surface (prevents obsuration of hoof and pastern).
- Pull the forelock and tail out of the way to expose full face and rear markings.
- Show photos can be used, if you can see all four legs separately.

